 Trade Zone
DIY Concrete Planters Guide
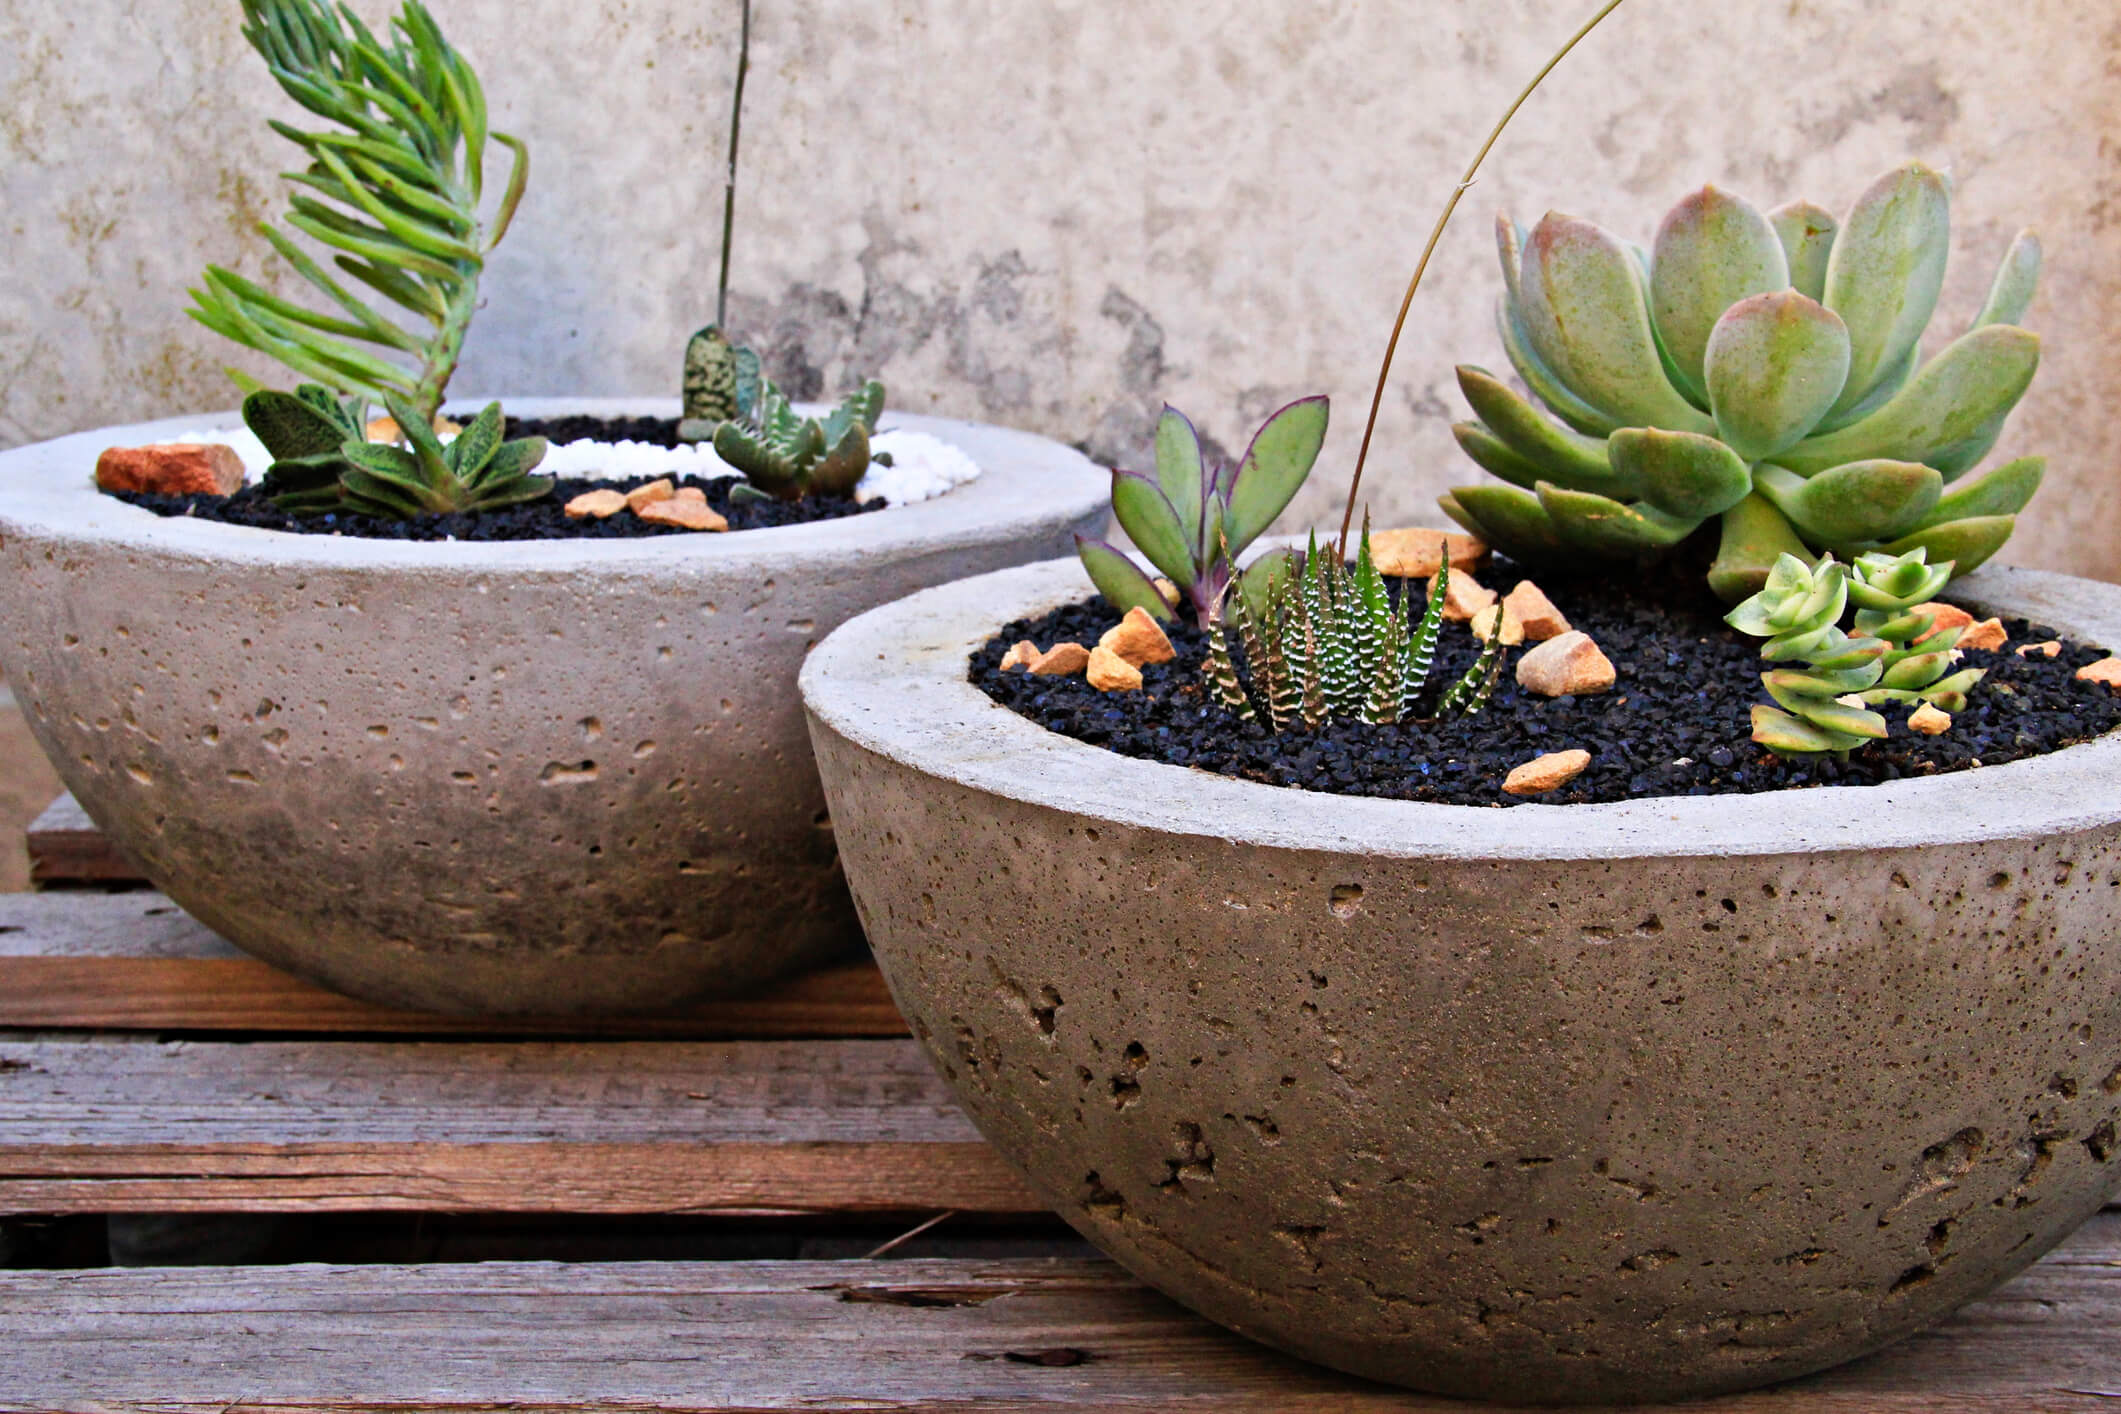
Add a touch of elegance to your garden with a homemade concrete planter. Not only does concrete provide a unique industrial aesthetic to any object, but it also offers superb strength and thermal resistance — perfect for your next garden planter.
The best part? It’s easy to make yourself, from home, and in just a few simple steps.
So grab your toolkit, order some concrete mix and follow our guide to make a stunning concrete planter.
What you’ll need:
Step 1 – Make your mould
You’ll need two boxers or containers to create your planter. These must be the same shape but should be slightly different sizes. One needs to fit inside the other and should be approximately 5cm shorter on each side.
The mould you use will dictate the shape of your planter. If you want a box-shaped planter, use rectangular containers; if you want a round planter, use circular containers.
If you can’t find containers with the right dimensions you can always create your own. A simple way to do this is by cutting cardboard into the desired shape. Glass, plastic, stainless steel and styrofoam are alternative options. Whichever you choose, you must make sure the containers are sturdy enough to hold the concrete mix while it sets.
You must place a plastic bag or film around the smaller container, ensuring it is tight against the sides. This will prevent the concrete from sticking to the smaller container and make it easier to remove the mould. You must also spray the larger container with non-stick cooking spray or apply some form of lubricant that will make the concrete easier to remove from the mould once hardened.
Mark a fill line around 5cm from the bottom of the larger container. This will be the level that you pour your concrete to.
Step 2 – Mix the concrete
Protect your hands when mixing the concrete. You should always wear a pair of kitchen/safety gloves for this step.
Mix the concrete with water in a wheelbarrow or bucket as per the instructions of your concrete mix. Reading the instructions is critical so that you know the precise ratio of water to concrete that you’ll need.
Always use high-quality concrete mix for the best results. Total Concrete offers high-quality concrete mixes tailored specifically to your project.
Step 3 – Fill the mould
Slowly pour the concrete mix into the outer container up to the fill line that you previously marked. Smooth the concrete with a spatula or masonry trowel.
Place the smaller container inside the larger container and pour the remaining concrete in between the two containers until it completely fills the mould. You may wish to place stones inside the smaller container to weigh it down and prevent it from moving around during this step. There should be no concrete inside the smaller container.
Smooth the newly poured concrete with a spatula or masonry trowel, pressing down as you do so to remove any air bubbles.
Let the concrete cure in the mould for a full day. You should cover the mould with tarp or a plastic bag so that it can completely harden and set without being disturbed.
After a full day has passed, gently scrape the concrete with a knife to see if the concrete has set. If you can pierce the concrete, then it is still too wet and should be left for longer.
Step 4 – Remove the planter
Carefully remove the inner container from the mould. It should come out fairly easily if it was wrapped in a plastic bag.
Flip the larger container over and the concrete planter should slide out.
We recommend leaving the planter for another week at this point to fully cure and harden. You can rub the concrete with a wet sponge once a day to darken the colour. If you need holes for drainage, you can drill these into your planter after two days.
Step 5 – Decorate and fill the planter
Once the planter has hardened you can decorate it however you like. This might include painting the planter using masonry paint or adding beads or stones. You could also use a stencil to paint specific images on your new creation.
Finally, fill the interior of your planter with potting mix and your choice of flower or plant. Remember to replace the soil once a month to keep your plant healthy.
For the best results, always use high-quality concrete mix. Total Concrete offers a range of high-quality concrete mixes suitable for a variety of applications. So whether you’re looking to construct a small DIY planter or you need large batches of concrete for a commercial project, we can help. Our team offers next-day delivery to customers across Woking, Guildford, Surrey, Berkshire, Hampshire and the surrounding areas. Use our concrete calculator to determine how much concrete you’ll need before placing your order.
Place your order now or contact our team for more information.