 Trade Zone
How to Install Concrete Fence Posts
Concrete is the perfect material to use for fence posts. Not only is it strong and durable, but it’s also easy to install.
If you’re in the mood for some DIY, consider installing concrete fence posts for your garden. In this article, we guide you through the entire process.
Why use concrete fence posts?
Though many DIYers tend to use timber for their fence posts, the many advantages of concrete make it the superior material.
- Concrete is known for its strength and durability. It will last a long time without needing maintenance.
- Concrete is resistant to rot
- Concrete can withstand high winds
- Concrete does not need regular maintenance
- Slotted concrete posts don’t require fixings — they just need slotting into place
- Slide-in concrete panels can easily be replaced
Which types of concrete post do I need?
It’s important to note that there are three different types of concrete fence posts:
Corner posts
For the corners of your fences, concrete corner posts accommodate two fence panels at a right angle.
Intermediate posts
Intermediate posts are used to join two fence panels end-to-end in a straight line.
End posts
End posts are used to complete the end of a run of fence panels. They only accommodate one fence panel.
Looking for high-quality, affordable concrete for your project? Get in touch today.
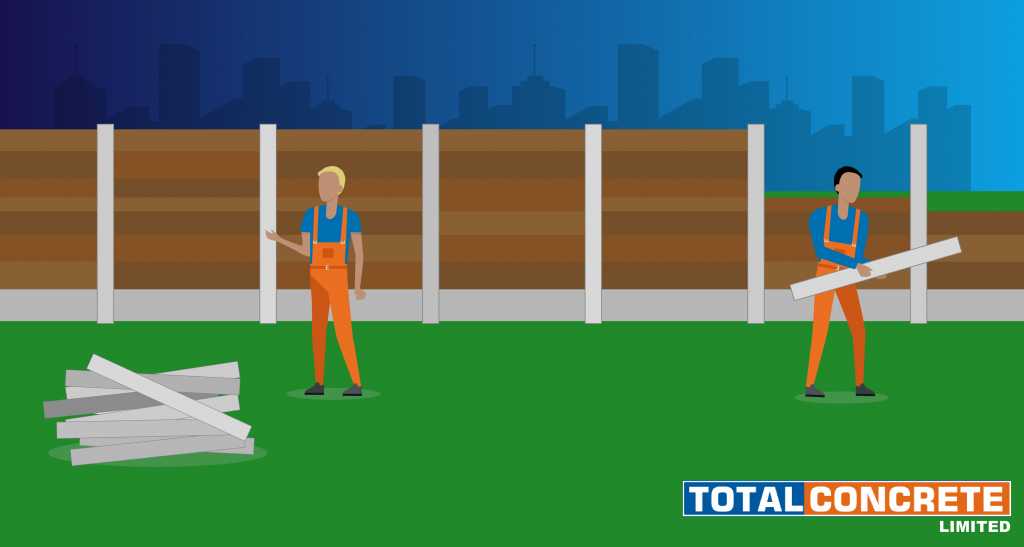
ContactHow to install concrete fence posts
Step 1 – Dig a hole
You’ll need to dig suitable holes to put your concrete posts into. You should begin by marking out the hole using a gravel board to measure out the distance between each fence post. You must also dig the hole around 2ft deep.
So remember — if you want a fence that is 6ft tall, you’ll need to use fence posts that are 8ft in height to accommodate for the 2ft of post that will go underground.
Step 2 – Position the post in the hole
Position the post in the hole and check to make sure everything is aligned properly.
Step 3 – Fill the holes with concrete
Ensure that your concrete gravel boards fit perfectly between the posts. Then, pour approximately 40kg of quick-set concrete mix into each hole. Add the appropriate amount of water and hold the posts in place until the concrete starts to set. If you prefer, you can mix the dry mix and water separately shortly before filling the hole.
Step 4 – Wait overnight
Leave the concrete to cure overnight before you begin slotting fence panels into the posts.
Step 5 – Add fence panels
Slot your fence panels into place and enjoy your new fence.
Whether you’re installing concrete fence posts or undertaking any other concrete DIY project, make sure you get the perfect amount of concrete for the job. Use the Total Concrete concrete calculator to get an accurate measurement for your project.
We provide QSRMC concrete, mixed to your requirements and delivered directly to your site. So whether you need volumetric concrete or ready-mix concrete, get the highest quality concrete from the industry’s best.
We serve customers across Woking, Guildford, Surrey and beyond. Contact our team today to place your order on 0800 859 5371 !