 Trade Zone
How to Lay a Concrete Shed Base
Building a new shed is a great summer project to work on — but before you can start thinking about getting the shed itself in place, you’ve got to make sure you’re working on a strong, sturdy foundation. In this guide, we’re looking at the steps you need to take to lay a concrete shed base.
Step one: Choosing your location
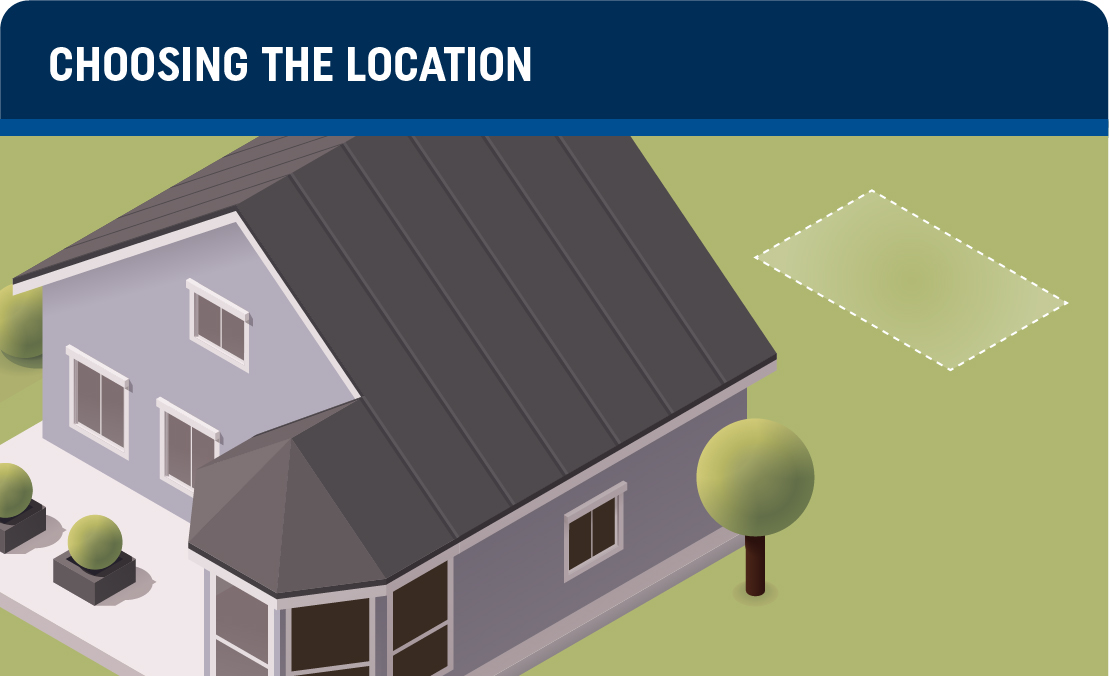
Location is key. Before figuring out the dimensions of the shed, you need to pick a suitable spot to start the build. If possible, pick a clear area at least a few feet away from nearby fences, walls or overhanging trees. Flat ground is always best — as it reduces the complexity of the task at hand and helps to ensure a more stable structure for the long term.
Step two: Levelling the sub-base
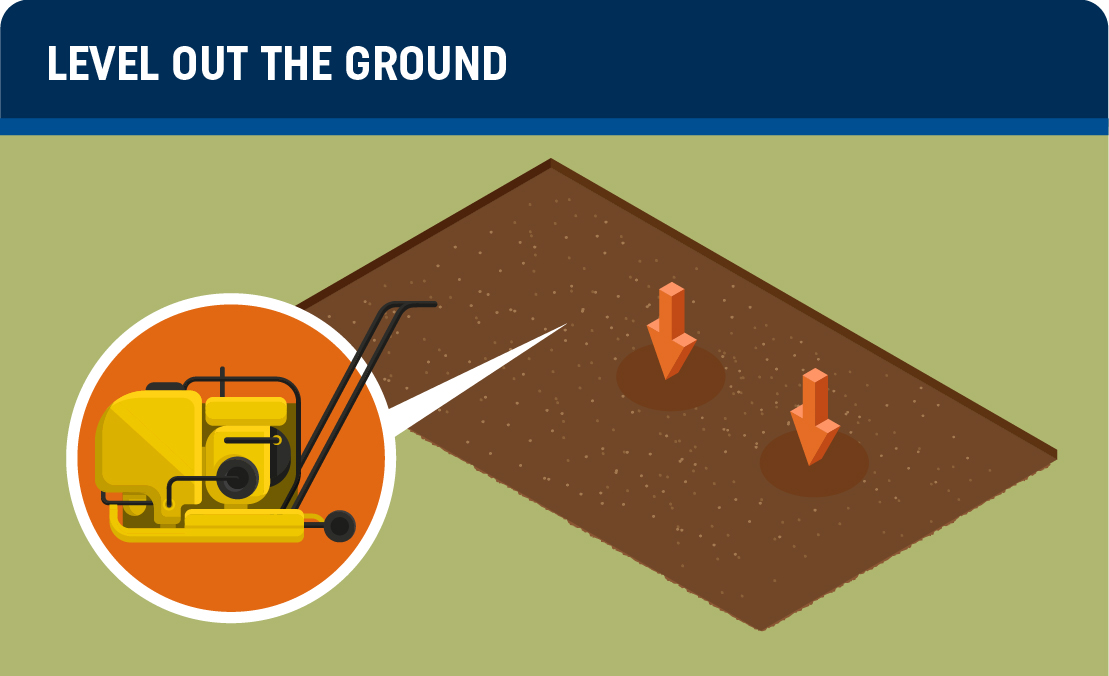
As said above, the foundation should be as flat as possible. Uneven or unstable ground should be avoided. Once you have settled on the dimensions of your shed, you can create a strong foundation using crushed hardcore. Dig out the topsoil in the area you plan to build on and create a foundation of compacted hardcore — removing any weeds in the process. 75mm of hardcore should be substantial — so when you dig out the topsoil, dig 150mm to account for both hardcore and concrete.
Step three: Marking the area

Use wooden stakes to mark out the perimeter of the shed base. Hammer these into the ground and connect them using string. This will help you visualise the area. Once this is done, you can take some time to ensure the sub-base is properly flattened and compacted while also removing any excess vegetation from the area.
Step four: Frame the perimeter
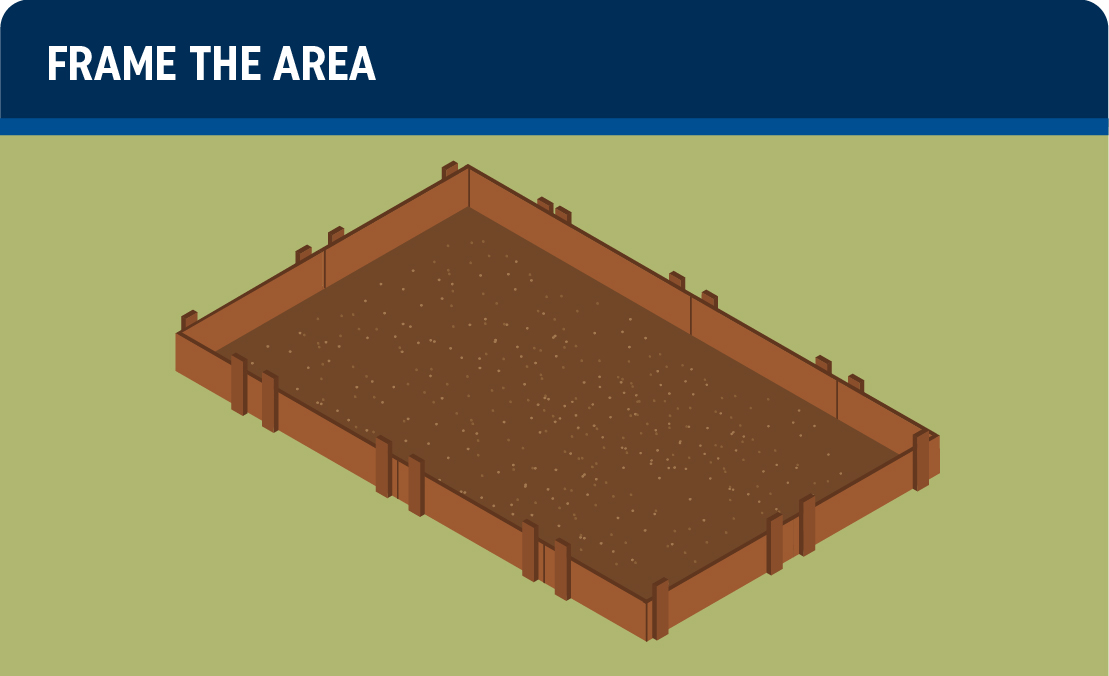
Using wooden boards, create an even perimeter around the planned pour site. These boards will help the concrete to retain a consistent shape as it sets. Anchor the frames using the wooden stakes, and ensure the inside measurements match up to your planned dimensions.
Step five: Pour the concrete
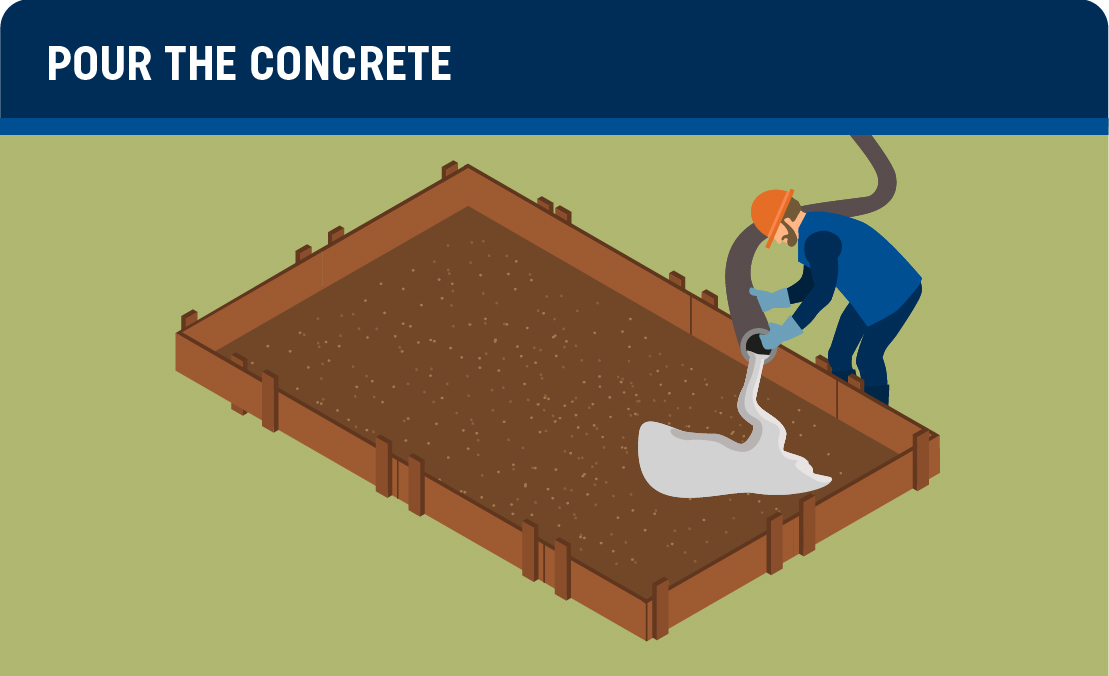
You can wait to order the concrete until the frames are in place, or arrange the order ahead of time. Either way, once the concrete arrives, it must be poured quickly. Because the shed will be in the back garden, you should consider whether or not you’ll need additional concrete pump hire to make things easier; transporting the concrete via a wheelbarrow can be labour intensive, and Total Concrete has a fleet of line pumps available to go along with a ready mix order. Clear your worksite then pour in controlled intervals into the forms.
Step six: Remove excess concrete
Once the pour is complete, and the concrete is evenly distributed, it should settle above the top of the forms. Remove excess concrete by using a wooden board, spread horizontally across the base, and moving it from one end of the slab to the other. Use a consistent back and forth motion to push excess concrete — which can be used to fill in any shallow areas as you go. Once complete, there should be a smooth surface sitting flush with the top of the wooden frames.
Step seven: Smooth out the surface
Use a concrete float to smooth out the surface. Starting with the float against a side wall, use an arching motion to smooth out the surface of the slab.
Step eight: Cure the concrete
Once the slab has set it’s time to start curing the concrete. Curing means keeping the concrete evenly moist until it reaches its curing strength. You can regularly spray the slab with a fine mist, or put down wet curing blankets. Whichever curing method you choose, leave it to cure for around three to five days. By this time, you can remove the frames and begin the actual shed construction, safe in the knowledge that you have a strong, long-lasting foundation securely in place.
The Total Concrete team is on hand to help with any DIY concrete project. We supply ready mix concrete for shed bases, and can even pump your concrete for you using our modern fleet of concrete pumps. If you need advice on the best mix for your shed base, or how much concrete you need to order, simply contact us today. We operate across Woking, Surrey and the surrounding areas and we are always happy to assist.