 Trade Zone
How To Lay A Patio
If you’re thinking of giving your garden a facelift, you’ll struggle to find a better addition to your backyard than a patio. If you’ve been in a garden with a patio before, you’ll know that it provides a number of benefits, from the aesthetic improvements to making a space for seating, socialising and barbecuing. However, it’s all well and good deciding that you want a patio for your garden, but you’ve got to lay it before you can enjoy it. In this article, we’re going to look at the process of laying a patio, from what you need to use to how you need to use it.
Equipment required
Fortunately, there isn’t an exhaustive list of countless tools and materials that you need to lay a patio. What you need is:
- A shovel
- Rubber mallet
- String line
- Spirit level
- Pointing trowel
- Ballast, building sand and sharp sand – this is available in an “all in” mixture from most stockists.
As well as tools and ballast, ensure you have the appropriate safety equipment. Protective gloves, goggles and long sleeve tops will provide a barrier from wet mortar, which can burn skin.
Before starting
The very first step of the process, before you’ve so much as scooped a bit of ballast, is a dry run of the patio laying. Simply lay out the patio slabs as you want the finished product to look – this will help ensure that you have the right size and amount of everything you need.
It’s important that you leave 150mm for the foundations and the paving, and for patios that are being laid next to housing, 300mm should be left in order to cater for the 150mm extra space required to extend past the damp proof course.
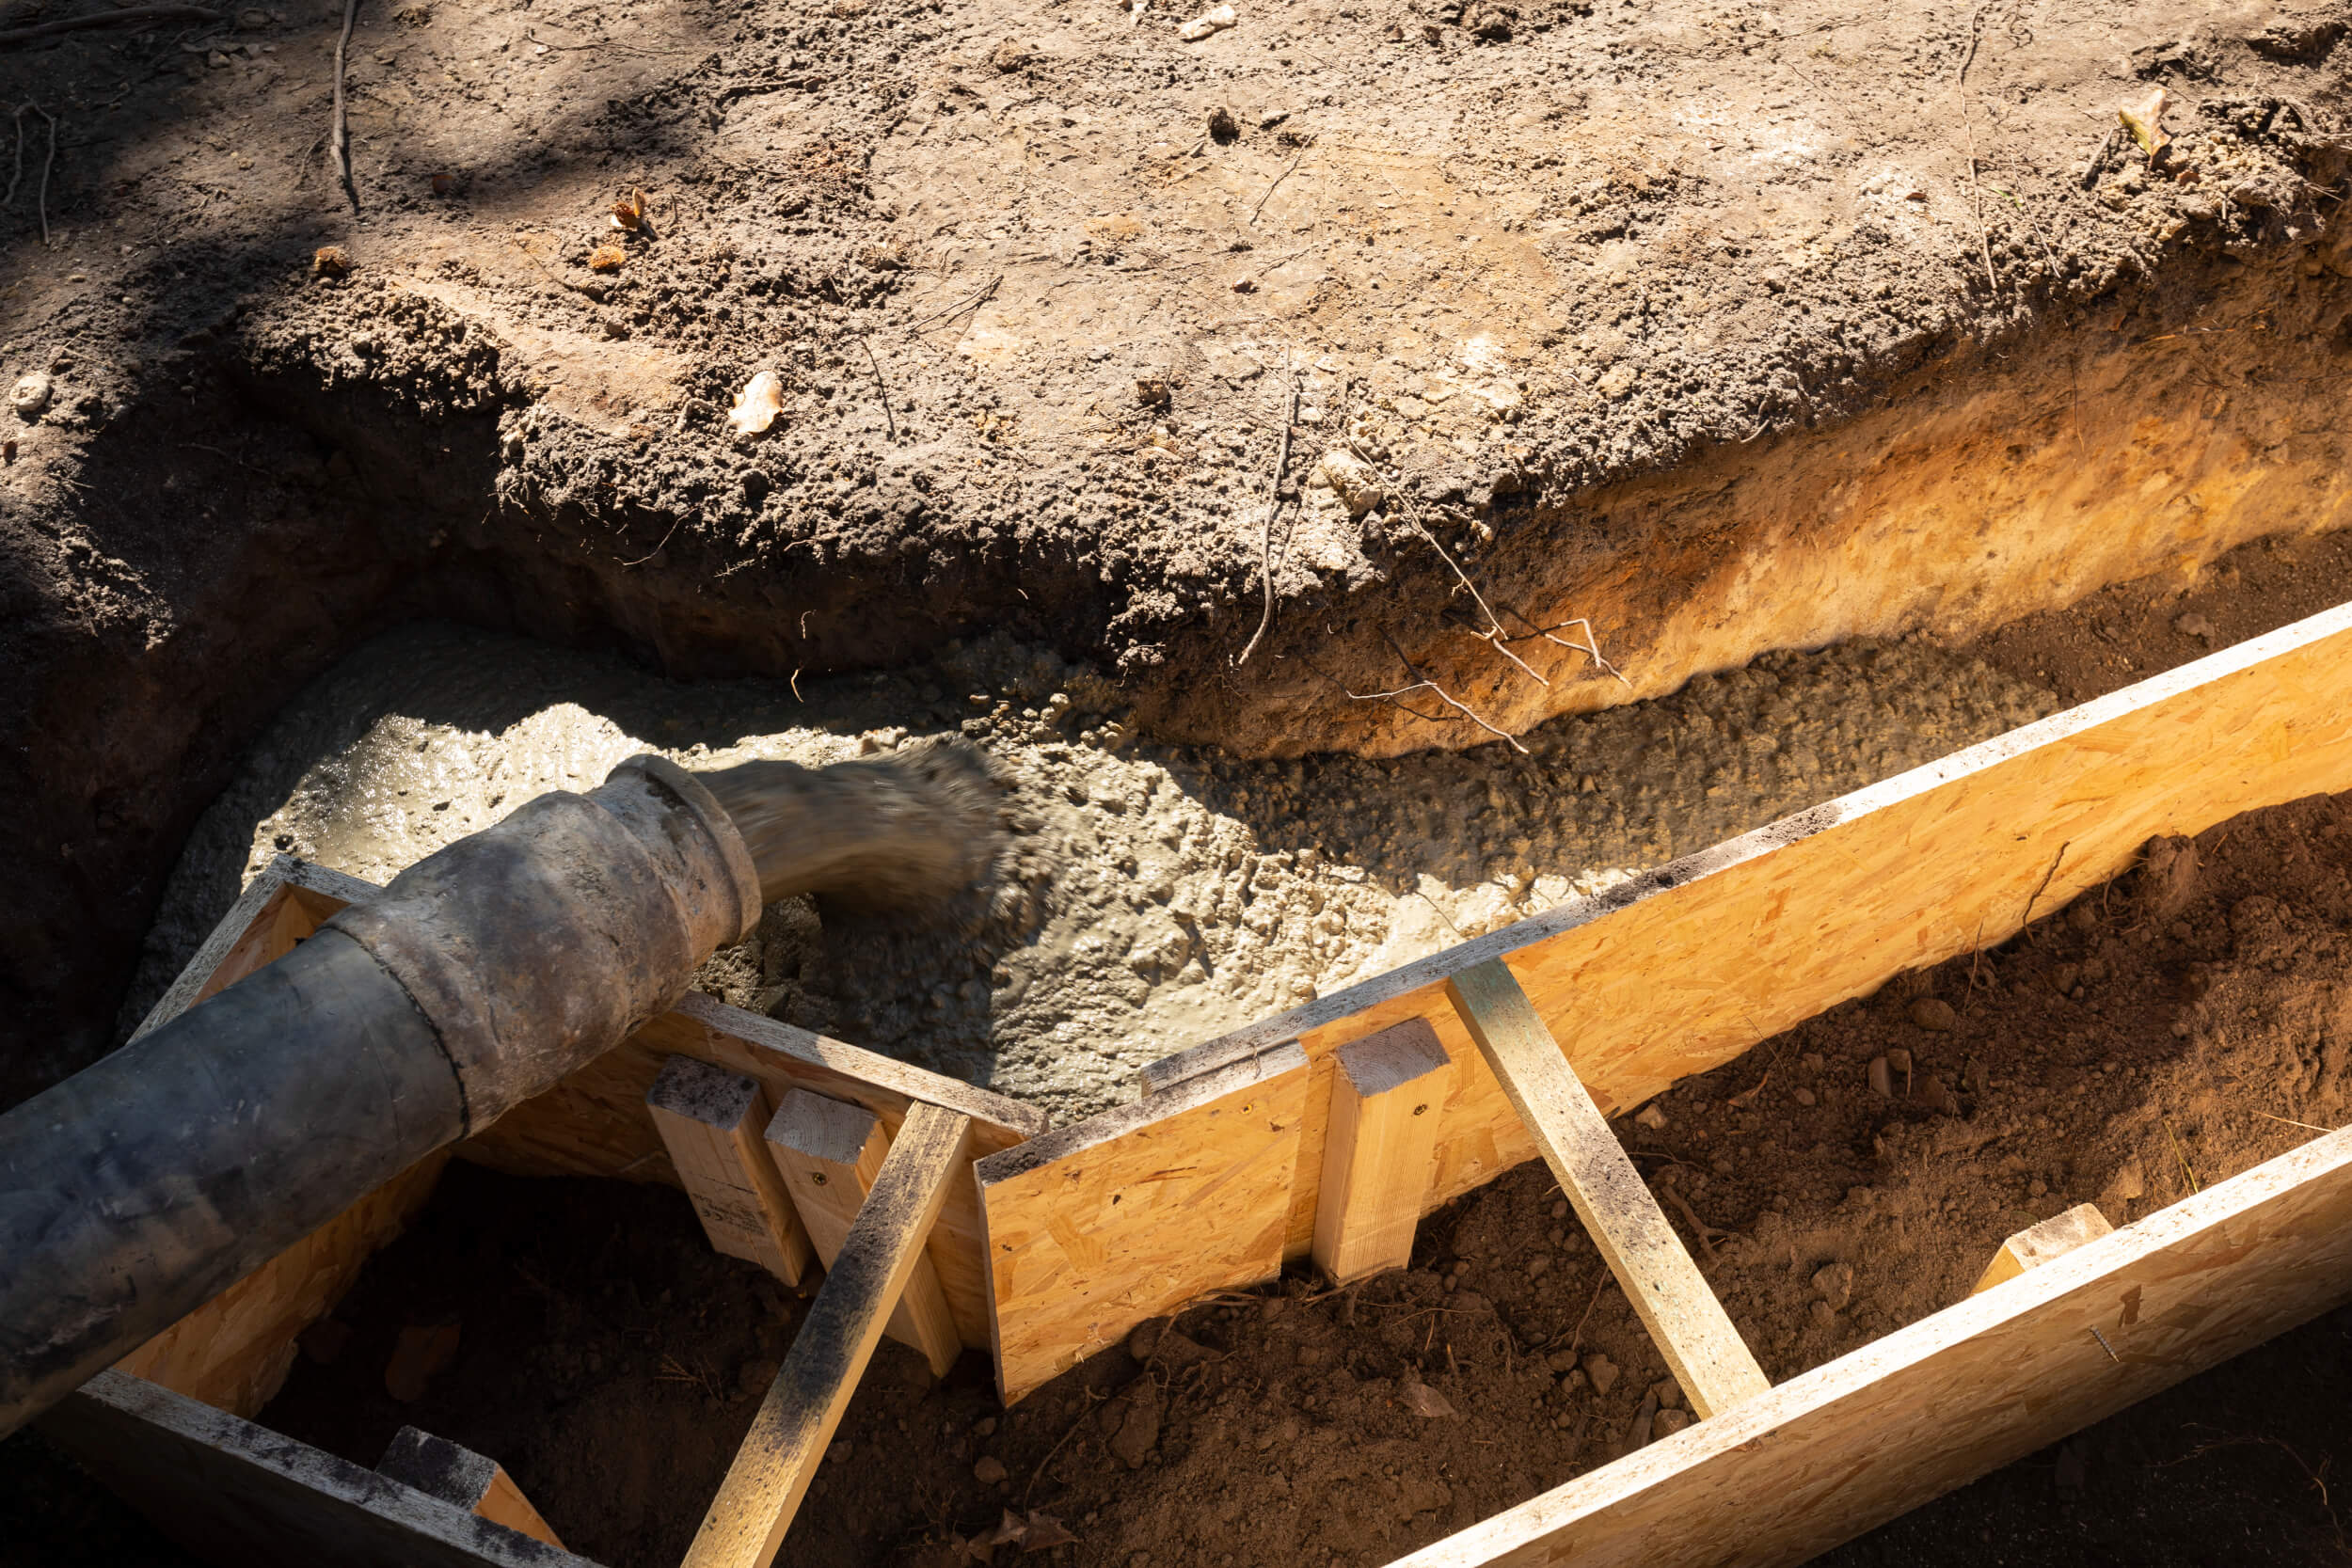
Preparing the base
The foundation is crucial, and using the right mixture for the foundation will make or break it. Contacting a professional concrete company and informing them of your project can be a surefire way to get the perfect mixture.
Laying the paving
Laying the patio slabs is not something that can be rushed, and taking the time to ensure everything is straight and perfectly aligned is crucial, otherwise you’ll be left with some noticeable gaps and off-centre slabs.
- Use some taut string as your guide; one should run down the length of the patio, and the other side to side, with the latter accommodating for the fall for drainage.
- Work your way in from the corner, spreading out mortar slightly larger than the slab you want to lay.
- Lower the slab into place.
- Tap the slab down with the rubber mallet – don’t hit it too hard! Tap in a diagonal pattern from centre to each corner. Keep going until the flag reaches the correct level.
- Once you are satisfied that the slab is level and fall has been accommodated for, you can lay the rest. Leave joints where necessary.
- Leave the patio for 24 hours before walking on.
Jointing
Using the mortar mix, which should be three parts soft building sand to one part cement, fill the joints and smooth them down with a trowel. The mixture should be of a smooth consistency. Leave the mortar to set, sweep the patio down and then it’s ready to be used!
Total Concrete are experts in the supply of ready mixed and volumetric concrete for customers throughout Surrey, Hampshire and the surrounding areas. If you’d like to know more about what we do, please feel free to get in touch with us today and we’ll be happy to help.